As a developer working primarily with Next.js and NestJS, I recently reviewed a pull request to a Django project authored by another developer — and realized just how much the Python ecosystem has evolved since I last used it professionally. In this post, I’ll document the process of setting up a modern Python + Django environment from a Node.js developer’s perspective.
The Python Environment setup
Since I last used Python professionally, the ecosystem has changed. virtualenv is still around and doing fine, but venv has been part of the standard library since Python 3.3. And now there’s uv — a modern, fast tool trying to consolidates the functionality of multiple utilities.
Let’s compare them across virtual environments, project management, and packaging. Spoiler: I’m currently preferring uv for new projects.
- With
virtualenv, installation is done viapip install virtualenvcommand (pipxis optional), and the setup usually looks likevirtualenv venv && source venv/bin/activate. New packages are installed withpip install <package>, and dependencies are frozen withpip freeze > requirements.txtinstallation of frozen dependencies ispip install -r requirements.txt. And a modern approach is to usepyproject.tomlfor projects management and dependencies management. Installing defined dependencies withpip install .orpip install -e .in development. Requirespip-toolsorPipenvfor locking dependencies. - With
venv, everything works almost the same, except there’s no need to install an extra tool — just runpython -m venv venv && source venv/bin/activate. - The
uvtool takes it a bit differently. It’s installed withcurl -LsSf https://astral.sh/uv/install.sh | sh(orpipx install uv) and initialized usinguv venv && source .venv/bin/activate. Packages are managed withuv add <package>, which automatically generates apyproject.toml(if missing) and auv.lockfile for dependency locking. Dependencies for the entire project can be installed withuv sync.
In practice, uv replaces virtualenv/venv (environment creation), pip (package installation), pip-tools(dependency resolution), and pipx (tool installation via uv tool install), while partially covering poetry, pdm, and pyenv. The result is an opinionated but efficient workflow — fast, consistent, and simple.
If you’re coming from the Node.js world, the setup will feel somewhat familiar at first — though there are some fundamental differences.
nvmmanages different versions of the Node.js interpreter installed centrally under~/.nvm, along with any global dependencies tied to those versions. In contrast,venv,virtualenv, anduv(which builds onvenv) manage project-specific dependencies by creating an isolated Python environment. Each environment includes its own package directory and a dedicated copy (or symlinks) of the Python interpreter and its supporting files. When you activate it, your shell’s PATH is updated to use this local interpreter and its packages — effectively sandboxing everything to that single project.
Django Setup
With the environment ready, it’s time to get to the point - setup Django. The official Django tutorial walks through the process in great detail, but here’s the quick version.
First, install Django into your active environment with uv add django (or pip install django if you’re going old school). Then create a new project using django-admin startproject demo ., which generates the initial project structure and configuration.
Run the development server with python manage.py runserver and open the suggested URL in your browser — if everything works, you’ll see Django’s default “The install worked successfully! Congratulations!” page.
When you’re building your Django app locally, you use the built-in development server
python manage.py runserver. This is perfect for coding - it automatically reloads when you change files and shows detailed error pages if you mess up. But this server is slow and insecure. Dev server is WSGI, which you’ll recognize from thewsgi.pyfile in your Django project.When you’re ready to show your app to the world, you need a production server that can handle real traffic. This is where ASGI servers like Daphne or Uvicorn come in - they’re built for speed and security. You combine these with a proper web server like gunicorn, and suddenly your app can actually survive in the wild instead of just running on your laptop.
A toy API service
Let’s start by preparing the database and admin panel. We already have some pending migrations from the initial project scaffolding, so let’s apply them first. There’s no need to change any database settings — SQLite is a perfectly fine choice for a toy project. Run the migrations to create the database structures Django needs for the admin application with python manage.py migrate, and then create a superuser using python manage.py createsuperuser --username admin --email your@email.com.
Now we can set up the API service. We’ll use Django REST Framework (DRF) — because we’re lazy and smart enough not to reinvent the wheel. Add the package with uv add djangorestframework; it will immediately appear in your pyproject.toml. Then create a new API app with cd demo && django-admin startapp api.
Next, we’re ready to define some models. For the sake of the demo, let’s implement a toy CRUD structure: Category -> Product -> Review:
class Category(models.Model):
    name = models.CharField(max_length=100)

    def __str__(self):
        return self.name

class Product(models.Model):
    category = models.ForeignKey(Category, on_delete=models.CASCADE)
    name = models.CharField(max_length=100)
    description = models.TextField()
    price = models.DecimalField(max_digits=10, decimal_places=2)

    def __str__(self):
        return f"{self.name} ({self.category}) - ${self.price}"


class Review(models.Model):
    product = models.ForeignKey(Product, on_delete=models.CASCADE)
    rating = models.IntegerField()
    comment = models.TextField()

    def __str__(self):
        return f"Review for {self.product.name}: {self.rating} stars"
Note this little override of the
__str__method — it’s going to be quite useful. In Django, this defines how an object is represented as text. By returning self.name, records of this model will display that name in the admin interface and anywhere else the object appears as a string.
With the models in place, we define serializers api/serializers.py and views api/views.py. DRF serializers describe how models are converted to and from JSON:
class CategorySerializer(serializers.ModelSerializer):
    class Meta:
        model = Category
        fields = ["name"]

class ProductSerializer(serializers.ModelSerializer):
    class Meta:
        model = Product
        fields = ["category", "name", "description", "price"]

class ReviewSerializer(serializers.ModelSerializer):
    class Meta:
        model = Review
        fields = ["product", "rating", "comment"]
By default, all model fields are automatically mapped to corresponding serializer fields. However, it’s usually better to be explicit and define them yourself — at least to avoid unintentional exposure of internal fields you didn’t mean to show to the world.
With views we are going with public CRUD for simplicity reasons:
class CategoriesViewSet(viewsets.ModelViewSet):
    queryset = Category.objects.all()
    serializer_class = CategorySerializer
    permission_classes = [permissions.AllowAny]

class ProductsViewSet(viewsets.ModelViewSet):
    queryset = Product.objects.all()
    serializer_class = ProductSerializer
    permission_classes = [permissions.AllowAny]

class ReviewsViewSet(viewsets.ModelViewSet):
    queryset = Review.objects.all()
    serializer_class = ReviewSerializer
    permission_classes = [permissions.AllowAny]
With that set, we just need to configure routing inside our API app api/urls.py:
from django.urls import path, include
from rest_framework import routers
from . import views

router = routers.DefaultRouter(trailing_slash=False)
router.register(r"categories", views.CategoriesViewSet)
router.register(r"products", views.ProductsViewSet)
router.register(r"reviews", views.ReviewsViewSet)

urlpatterns = [
    path("", include(router.urls)),
]
Don’t forget to add the demo.api app and rest_framework to the project’s INSTALLED_APPS (missing either of these will break things) settings.py:
INSTALLED_APPS = [
    ...
    "rest_framework",
    "demo.api",
]
One more important step is to register our models with the admin so we can manage them through the UI api/admin.py:
from django.contrib import admin
from demo.api.models import Category, Product, Review

admin.site.register(Category)
admin.site.register(Product)
admin.site.register(Review)
With all that in place, create migrations for the new models using python manage.py makemigrations api and apply them with python manage.py migrate.
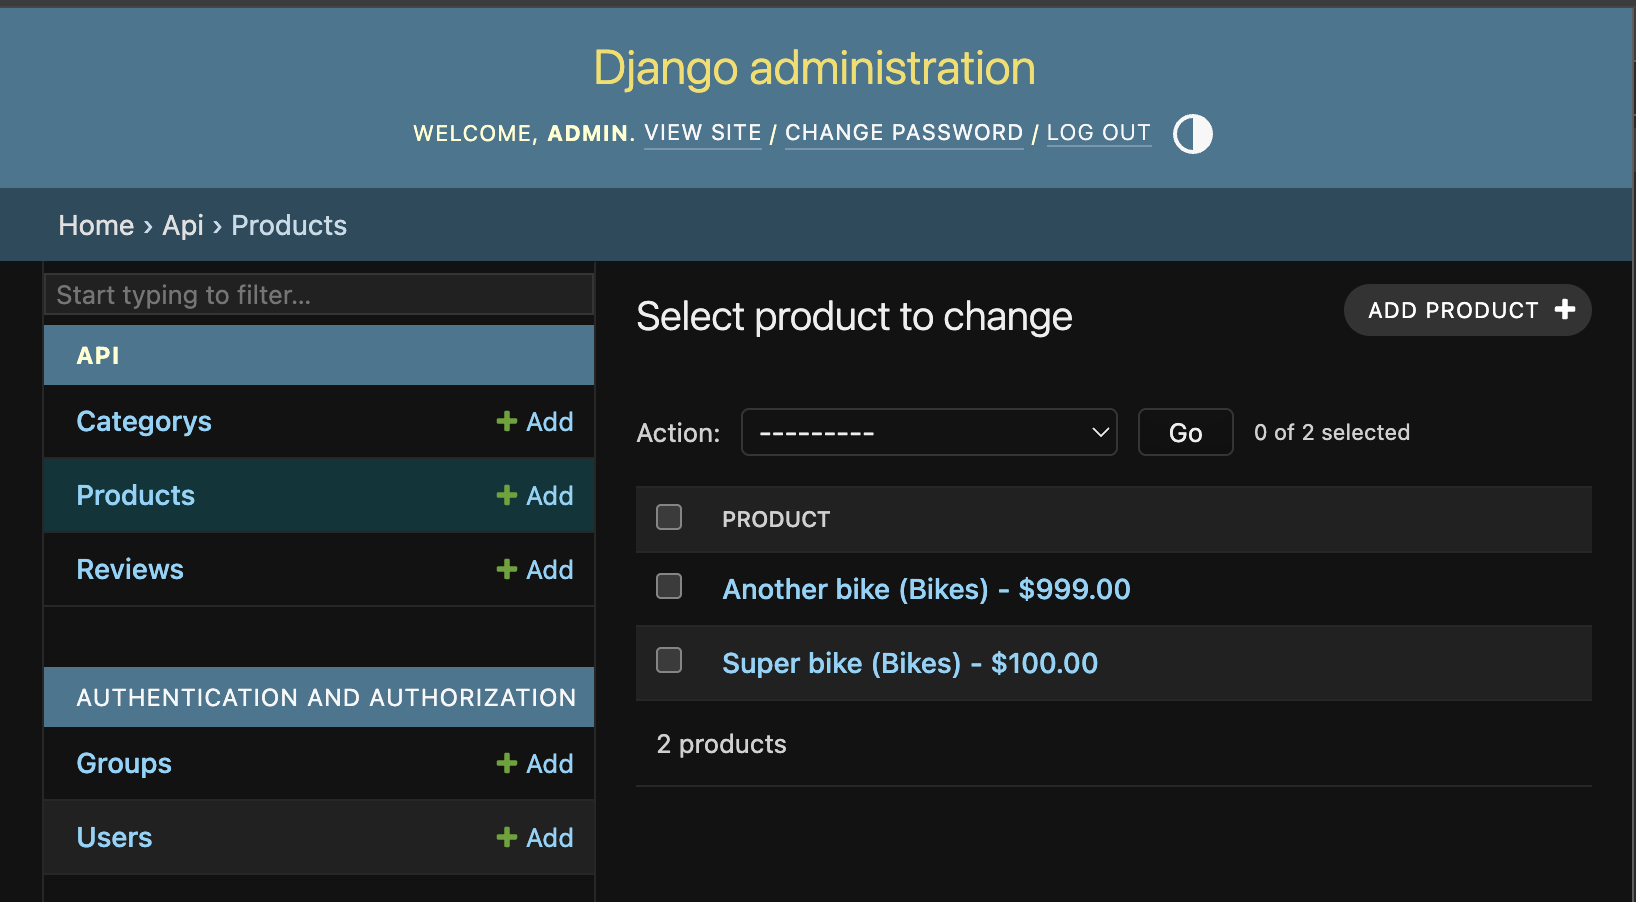
At this point everything is wired up and we can start the application with python manage.py runserver. A quick curl http://localhost:8000/api/reviews should return an empty array, which is exactly what we expect for a fresh database. Now you can go to /admin/, log in with the superuser you created earlier, add a category, a product, and a review — and then hit the same API endpoint again to see the data flowing through the API.
If you’re a Node.js developer, Django’s automatic admin interface might feel almost magical — there’s really no direct equivalent. In the JavaScript world, you usually mix and match tools to get something similar.
For the data access layer, frameworks like Prisma or TypeORM can generate models, migrations, and typed queries from schema definitions — that’s about as close as it gets to Django’s ORM. For an admin panel, you’d typically reach for AdminJS, which can auto-generate CRUD UIs on top of your models. Another option is Strapi, which works more like a highly customizable headless CMS with a built-in admin interface.
While none of these provide the same tight, batteries-included integration Django offers out of the box, a setup using Prisma + AdminJS (or Strapi if you prefer a full CMS) can get you a comparable developer experience — but with a few more moving parts to glue together.
Conclusion
I had some fun setting up this little toy project and dusting off my long-forgotten Python knowledge. Turns out, Django can be a pretty nice tool for managing data in a database while also providing an extensible API layer.
Next, I want to explore adding filtering, sorting, and pagination for all entities through the API — to see if this setup could really serve as a replacement for a headless CMS.
Also, since I recently had to deal with monitoring Django services running in GCP, I’m planning to set up OpenTelemetry. Let’s see how long it takes me to turn those experiments into the next blog post (or a few of them). 😅
By the way, I’ve pushed this little toy project to GitHub — feel free to explore.